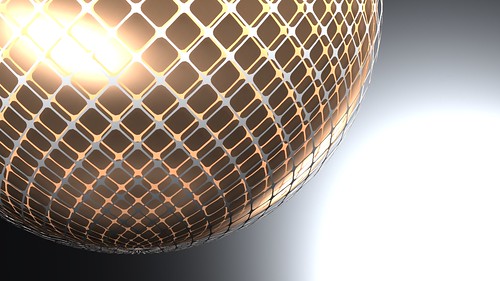
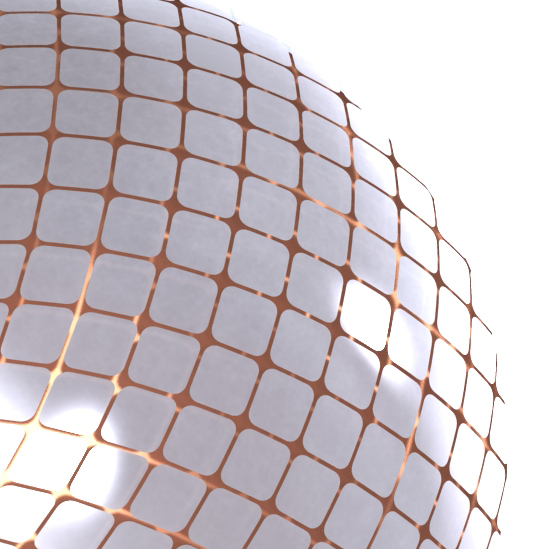
In this post I will present a workflow for using the laser scanner to create elements for sculptural compositions. The illustration above presents the finished composition composed of a Nurbs Surface and linear contour elements.
The data was scanned in an earlier post Black Power Nkisi: Laser Scan. In that post the emphasis was placed on using Rapid Works to extract polygonal elements that could be used to create sculptural compositions. In this post the emphasis will be placed on using Rapid Works to derive a series of Nurbs elements that will be used in sculptural compositions.
The AutoSurface sub-menu is used to generate your Nurbs surface patches. You should focus on generating surface patches using both Evenly Distributed Networks and Feature Following networks. Once these patches are generated you have a variety of tools that can be used to edit the networks. Finally you can use your scanned mesh as the background for a networks that you create by drawing directly on its surface.
 The finished surface typology is then imported in Rhino as an IGES file. Within Rhino the
  Grasshopper in invoked from within Rhino. Once in Grasshopper a simple script is created to read in all of the curves and transform them into adjustable pipes. Play around with the radius adjustment to play with the proportion of your tubes with the underlying mass and as an element unto itself.
 The tubes should be baked into Rhino from within Grasshopper on separate levels.
 The data can now be used in a wide variety of digital fabrication processes at a wide variety of scales. During this quarter I am teaching both Digital Applications in Sculpture and Direct Metal Sculpture. I look forward to exploring how these data sets and workflow can be used in both contexts.
7/14/2011 Update
Below are two of the initial studies based on the scanned data.
 The first study is a serial exploration of the form. While I like the way that the cardboard looks I am interested in using this form as an internal armature. I want to see how well aqua-resin and cheese cloth works over this form. I am also interested in doing another serial study using wood.
In this study a 3d print of the computer model was created then molded using Smooth-On Rebound 25 silicone rubber. Afterwhich, urethane models were created using Smooth-Cast 325. I am interested in doing a few more castings and material explorations using these models. This is only the beginning.


 And this is the produced abs printed fused-deposition modeling "egg" that was later painted to match the mettalic finish in the rendering previous.
  This following picture is a screen capture of the ideal of what the pepakura file for the final project could have produced. The final model is flawed and is not pictured here, but the synthesis of this idea will continue. Once completed, I will post again to show the potential of the idea being realized.