Showing posts with label scpt250450. Show all posts
Wednesday, October 9, 2013
Serial Slicing - Cardboard Federico Villa
Once the 63 individual sliced were laser cut it was just a matter of stacking them together and gluing them, and of course move to go along with the process :)
The beauty about working with cardboard, in my opinion, is that it is an inexpensive way to show form and volume, but if you see it from the perspective of the structural support (interior) it can look almost transparent or show the interior structure perfectly.
I was very happy to see the finished piece and actually experience the power of 3D scanning.
The beauty about working with cardboard, in my opinion, is that it is an inexpensive way to show form and volume, but if you see it from the perspective of the structural support (interior) it can look almost transparent or show the interior structure perfectly.
I was very happy to see the finished piece and actually experience the power of 3D scanning.
Labels:
3d scan,
3Dscanning,
chess,
design,
federicovilla,
federicovillaw,
Laser Cut,
product design,
scpt250450,
zaha hadid
3D scanning and replicating
For our first project, which involved 3D scanning a small sculptural object using the 3D scanner, I was inspired by architect Zaha Hadid and developed small chess pieces which communicate through a sculptural format.
Labels:
3d scan,
chess,
federicovilla,
federicovillaw,
scpt250450,
zaha hadid
Sunday, September 29, 2013
Eddie Holecko: Project One, Digital Cleanup
Once the model was exported to an obj from RapidWorks, I imported the model into zbrush to clean up the polygons.
![]() |
| Original geometry |
Using the Dynamesh command in Zbrush, I evenly dispersed the polys throughout the object resulting in a much cleaner mesh.
![]() |
| Dynamesh Model |
I used Dynamesh in Z-brush to create several different high resolution and low resolution versions of the object.
![]() |
| 29K polycount (left), 72k polycount (right) |
![]() |
| 191K polycount (left), 470k polycount (right) |
![]() |
| maya screenshot, low poly obj |
![]() |
| low poly obj (left), reduced poly wire frame geometry (right) |
Eddie Holecko: Project One, Process Photos
For this project, taking inspiration from H.R. Giger, I created a small WED clay sculpture. The sculpt is roughly 4" tall so it works well with the 3D scanner's short range focus.
After the sculpture was scanned, I combined the scans from multiple angles to create one mesh. I also cleaned up the geometry and cut out the metal pole that appeared in the scan. Then I imported the mesh into Rapid Works, where I patched a few holes in the geometry. After the mesh was fused to one and completely patched, I exported an obj file.
| roughed out creature sculpt |
| roughed out creature sculpt |
| refined creature sculpt |
| refined creature sculpt |
| refined creature sculpt-profile |
| rough creature sculpt back view |
Next, the sculpt was sprayed with Kryolan Crystal Clear to seal the detail during the scanning process. The quick creature sculpt was then taken to the scanner. I added several tracking points which make combining the geometry from each scan easier.
| Sculpture, with tracking points, mounted to the scanner. |
| Sculpture, with tracking points, mounted to the scanner. |
| Positioning the sculpture is very important in order to receive a clean scan. If the sculpt/object is not in focus then the scanner does not read the geometry. |
| The scanner doing its magic |
| The scanner and a glimpse at the Scan Studios interface |
In order to capture enough of the sculpture to work with in Rapid Works, Zbrush and Maya, I had to scan the object 360 degrees from three different positions.
| Re-positioned sculpture |
Next, I imported the obj to Zbrush in order to clean up the geometry. More information on mesh clean-up coming soon!
Monday, September 23, 2013
Donovan.hettich 3D scanning exercise
1st post of scanning exercise a model is wire frame that i snipped from Rhino from a sculpture created by Professor Andrew F Scott .
Wire frame model
Wire frame model
Key Shot rendering
Andrew F. Scott: Scanning Exercise01
This is my posting of My Scanned Image. The Image is based on an African Nkonde Figure.
I will be using it throughout the quarter to explore digital fabrication processes. To see Other works that I have created using this subject you can go to my Flickr page.
Image ghosted in rhino
The same image with texture map information
This is a keyshot rendering
Wednesday, October 10, 2012
Brianna Finkle: Radial Waffle Stucture
Once grasshopper was available, it was time to make some waffles structures. Below is a quick example of a radial waffle structure which might make a really interesting light fixture.
![]() |
| Rhino File |
Brianna Finkle: Polyhedra
Tuesday, October 9, 2012
Brianna Finkle: Serial Sliced Object
After becoming more familiar in Rhino we learned how to serial slice an object. After inserting a core and slicing the object comes a process of numbering and laying the components out on a flat sheet to be laser cut. Once the pieces are cut the assembly is simple.
![]() | |||
| Slices Rhino File |
![]() | |||||
| Keyshot Rendering Sliced Cardboard Rhino Large Small scale Rhino |
Labels:
briannafinkle,
cardboard sculpture,
rhino,
scpt250450,
serial,
serial slice
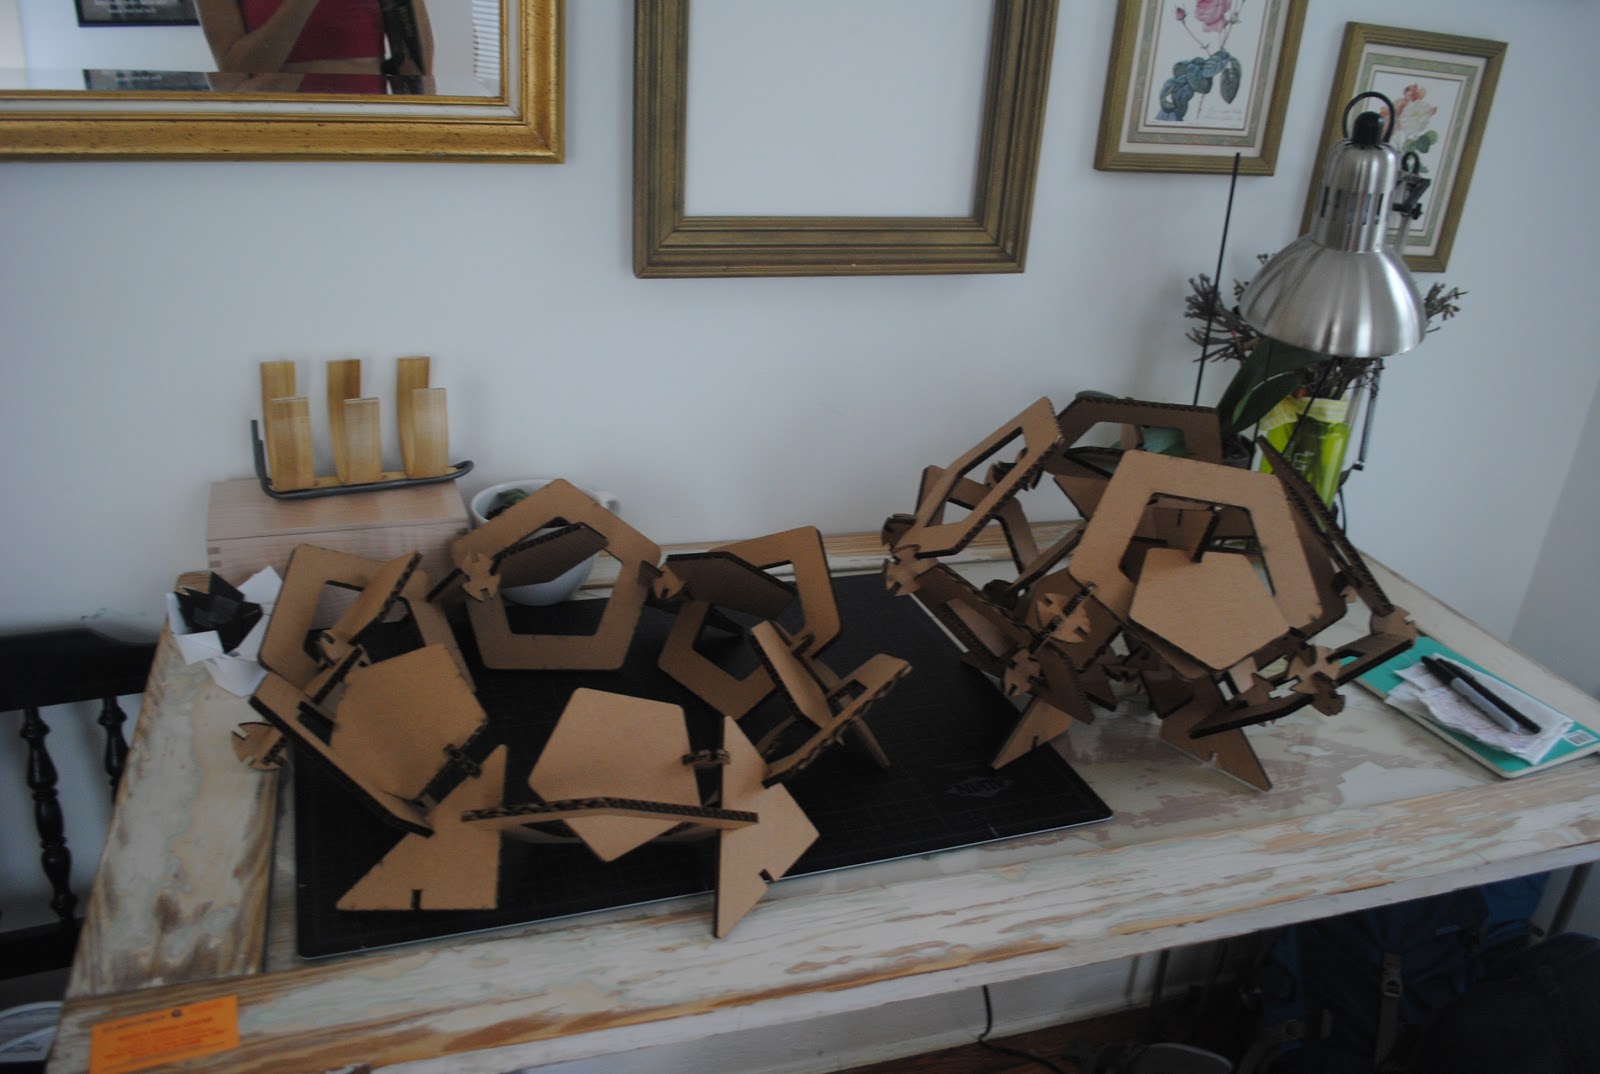
Brianna Finkle : Slotted Sculpture
Below is
my first exploration in slotted sculpture. Starting with a Rhino file
that was laser cut, several small pieces were created that can be
arranged in many different ways.
![]() | |||||||||
| Rhino File |
Wednesday, October 3, 2012
Andrew F. Scott: Fall 2012 First Post
This the first posting of the fall quarter 2012 where will will introduce a whole new cadre of digital sculptors to the scene.
This rendering was created using keyshot 3
This is my serial screen capture
Labels:
andrewfscott,
Project 1,
scpt250450,
serial plane sculpture
Monday, March 12, 2012
Andrew Landers: Poly Shape Paper cut
I started by making a model in Maya to export as an Obj file to send to a program called Pepakura which unfold the object for me so i can then set it up to be printed out.

Here it is in Pepakura,

Then you put it in Illustrator so you can fix up the cut out lines for the laser cutter.

Then you throw it back in to Rhino with all your new edges and you can finally print out your pieces.
Here it is in Pepakura,
Then you put it in Illustrator so you can fix up the cut out lines for the laser cutter.
Then you throw it back in to Rhino with all your new edges and you can finally print out your pieces.
Labels:
digital sculpture,
Illustrator,
Laser cutter,
maya,
rhino,
scpt250450
Subscribe to:
Posts (Atom)