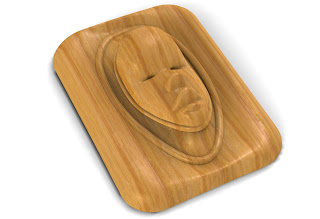
This is a keyshot rendering of a relief sculpture that incorporates laser scanned data. The model was scanned using a
Next Engine Scanner. The data was processed using
Rapid Works reverse engineering software. This workflow outlines how RapidWorks can be used to generate a variety of nurbs surfaces. While the focus of this posting is on the CNC milling process, the same workflow can be used for FDM and Laser Cutting Operations.
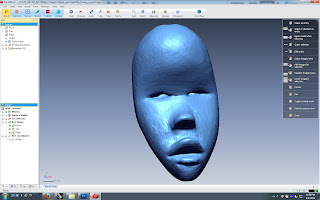
Once Scanned the data is brought into RapidWorks where it is cleaned up and prepared for both surfaces decimation which is used to generate polygonal data and a variety of operations that are used to generate surfaces. Using the AutoSurfacing function Rapidworks can generated two types of surfaces.
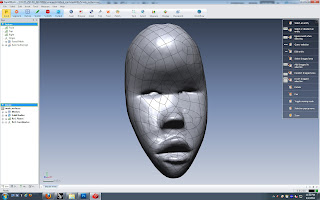
This is an example of a surface that is generated using an evenly distributed network of patches. Using this function will overlay a net-like surface of user defined quad patches that does not adhere to the contours of your object. The net like structure follows and adheres to the typology of the surface. Each patch has a user defined number of control points that is used to control the complexity of the patch network.
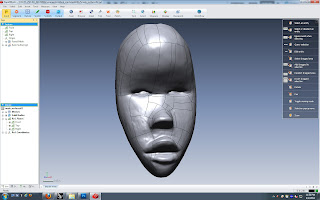
The Feature Following Network tries to follow the typology of your object more closely by generating a series of quad patches based on the contours of your objects. There are a variety of settings that can be adjusted to achieve different effects using this option. The main two focus on are
Feature Detection Level and
Geometry Capture Accuracy.
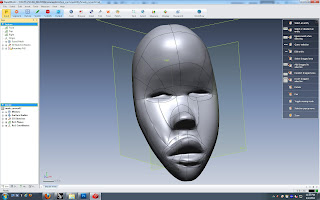
For the greatest degree of control and artistic expression you can draw your own patch typology on the object using the
3D Sketch Mode. This mode has a variety of tools for generating your patch typology on top of your mesh object. Above is a quick sketch of a patch network that I drew on the scanned model. As an edge loop disciple I will probably go back and redo the network so that the edge loops reflect the true contours of the model. This is important because these lines can be used to generate surface details as shown in an
earlier posting of my fist model that focused on nurbs modeling and laser scanning.
I am very excited about this branch of research because it affords total control over the surface typology of scanned models. You can generate almost any surface pattern you want as long as it is composed of quadrilateral patches. The software will also generate boundary surfaces when you use 3-sided patches or patches with more than four sides. It prefers quad patches.
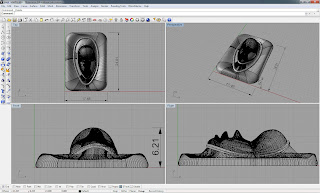
The patches are easily joined in Rhino into a polysurface. It is also easier to fix problem patches using the surface generation tools within Rhino. Once done your model can be incorporated into a variety of modeling techniques.
I am interested in exploring the potential of the scanned data using a variety of milling techniques that focus on surface typologies and its influence on the texture of the objects. This is only the beginning.


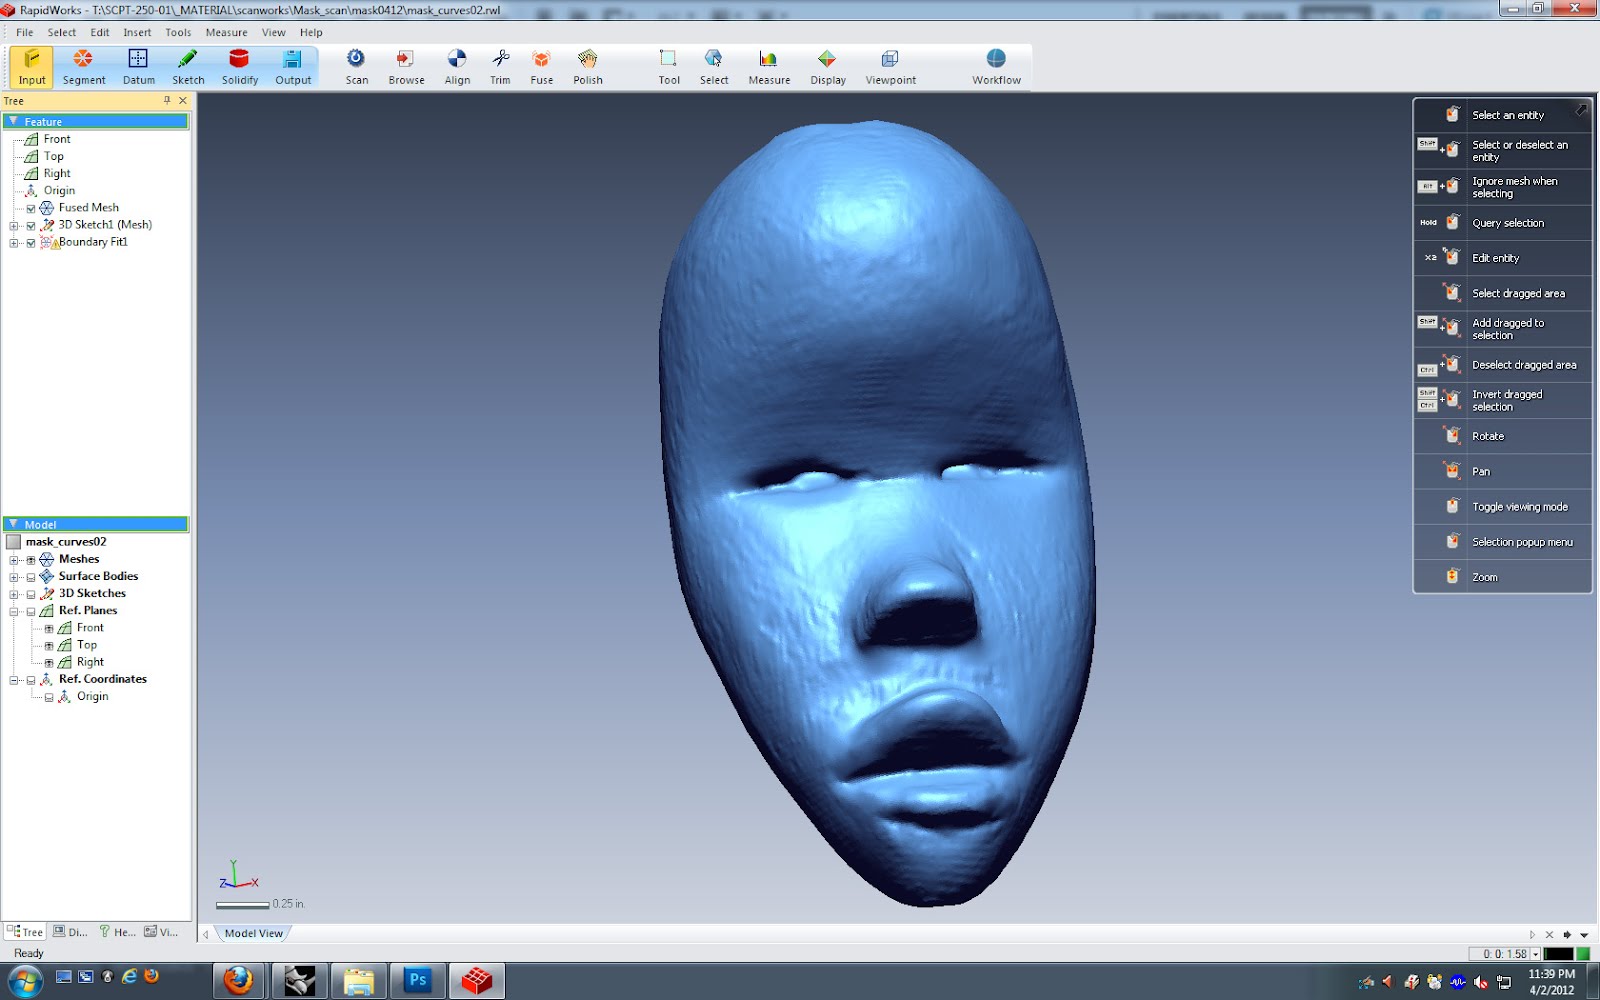
 This is an example of a surface that is generated using an evenly distributed network of patches. Using this function will overlay a net-like surface of user defined quad patches that does not adhere to the contours of your object. The net like structure follows and adheres to the typology of the surface. Each patch has a user defined number of control points that is used to control the complexity of the patch network.
 The Feature Following Network tries to follow the typology of your object more closely by generating a series of quad patches based on the contours of your objects. There are a variety of settings that can be adjusted to achieve different effects using this option. The main two focus on are Feature Detection Level and Geometry Capture Accuracy.

 I found a New York City skyline to use as the backdrop for my Penthouse Gallery. This image was created in Photoshop By compositing render passes from maya. The same work flow can be used in Keyshot to complete you image composites. Note the difference in the dynamic range of this image compared to the beauty shot in Maya.
 I wanted to create another view of my Penthouse Gallery. I wanted this view to be set in a daytime context with a wider view of the gallery. I am beginning to like this notion of composing exhibitions of my work digitally. I followed the same work flow as in the previous image, first creatign the beauty pass in Maya. Afterwhich I used the render layers to compose several render passes.
 This is the composited image in Photoshop. While I think it is a good start there is still some work that i have to do in Maya with the shadows to get it just right.
 This image is from a class room demo showing how keyshot can be used to create render passes for compositing in Photoshop. This model presents some interesting considerations. The Nkisi-Nkonde figure was captured using a laser scanner. The approximate size of the model in 8 inches high. As a part of the scanning process texture coordinates were captured and fused together to create a texture map for the three dimensional model. Hypershot recognizes this data as a part of the model and applies it to your object when you import it into the program. It becomes a layer that can be used to both bump and texture map the model.


