Wednesday, August 31, 2011

Phases of the Face-Skull


For my quarter in Sculpture 250 used one clay model.
From this clay model I was able to create different variations through the application of digital tools.
Here are the different variations.


Milling


Serial Contour


Painted Serial Contour


FDM


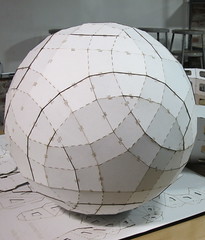
Pepekura

Monday, August 29, 2011

andrew f. scott:Topmod Pepakura

topmod modeling and surfacing software was used to generate this model which was then processed for laser cutting using pepakura. I'd like to thank thank Kali Moon for your help assembling this model.

Friday, August 26, 2011

Kali Moon: Laser Cutting


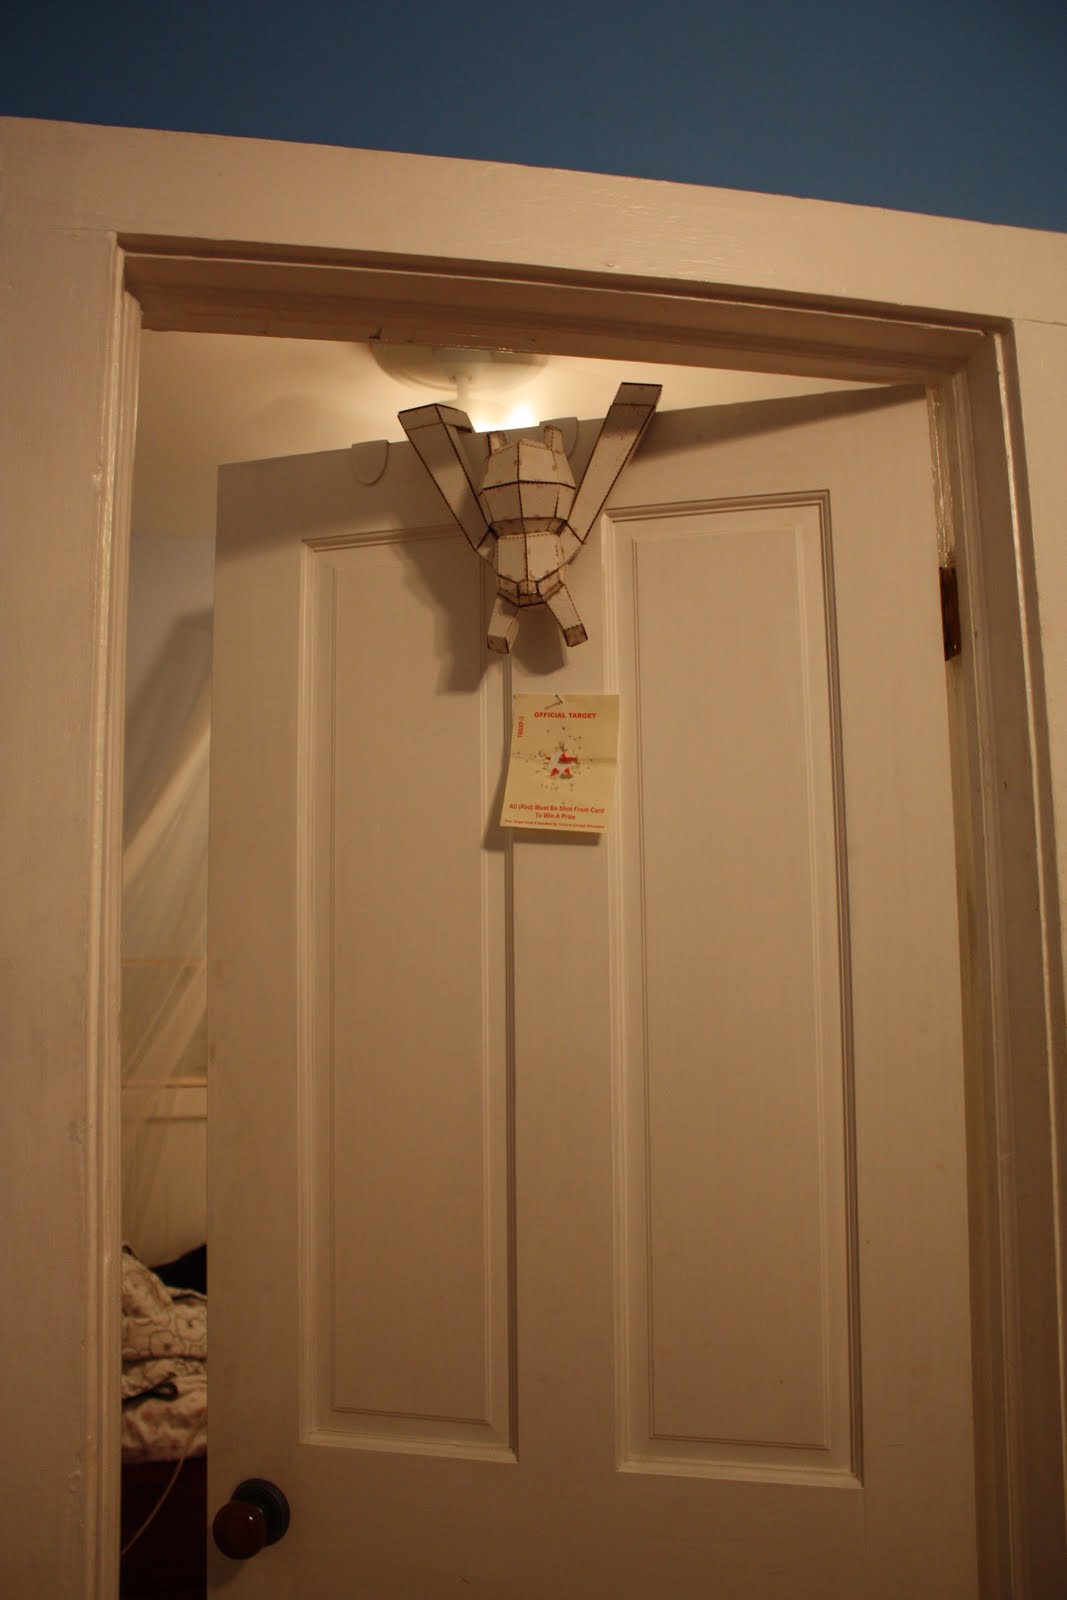
If you don't like to close the door, here's a good helper, Door Bear!
The bear is hung on the door to keep the door open.
After I created a door bear model in Maya, I used Pepakura Designer which is for making paper craft models from 3-dimensional data.
I exported pepakura model to .eps file, which is for getting join numbers, and .dxf file, which is for showing folding lines.
I followed the order to be ready to laser cut by using illustrator and Rhino.
I glued the same join numbers together
and I got Door Bear.

Saturday, August 13, 2011

Kali Moon: 3D Printing


I developed the face that I used for the first project in Zbrush, so that I have a detailed face. For this project, I want to describe a person who has various personalities, which are expressed by the different facial expressions on the balloon. The face which is blowing the balloon may describe cold-blooded personality with machine parts which seems like a very practical, precise and impulsive person.

Wednesday, August 10, 2011

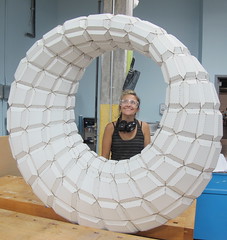
andrew f. scott: mobius pepakura

One of two build outs from our recent lecture. The interesting aspect of this build in that each edge loop is built from a similar flat development which shows the expressive potential of mountain and valley folds. While building this I was also attracted to the interior forms, so I may create another one and reverse the mountain and valley folds to see how that comes out.

Sunday, July 24, 2011

Daniel Brookman: Barbie Ormolu, Intro

My work in this class will examine the role of the Barbie doll as an icon of popular American culture, exploring unexpected themes the Barbie brand can represent. The project will take the form of a desk that will feature ormolu mounts derived from Barbie iconography and other relevant imagery.

Ormolu comes from the French or moulu and means “powdered gold.” The term denotes a gold-colored alloy of copper, zinc, and sometimes tin, which is cast and then gilded. Ormolu was predominantly used in eighteenth century furniture decoration and timepiece construction.

Examples of ormolu.

Sketches of desk and components.

These sketches illustrate the French-inspired desk and ormolu components that I intend to create. The center of the desk will feature an asymmetrical medallion in mid-relief (top left), while each front corner of the desk will be adorned with high-relief figural mounts (top right). Along the back of the desk, a jungle scene will be rendered in low-relief and will span the width of the piece.

After initial sketching was complete, I purchased a basic Barbie doll to use as a starting point for my 3D model. The first step was to scan this, a process that was fairly straightforward: the doll’s head was isolated, the hair tied back and cropped, and a button-head machine screw was hot glued inside the neck cavity. The threaded end of the assembly was then screwed into the scanner platform until tight, which enabled a precise 3D scan.

3D laser scan in progress.

Three separate 360° scans were merged in this model.

NextEngine ScanStudio HD software was used to process the captured 3D data. This data was cleaned up in Rapid Works and then exported as an .IGS file for later use in 3D modeling software. Here is a quick KeyShot rendering of the unaltered .IGS file.

Scan data rendered in galvanized steel.

Daniel Brookman: Eye-Catching 3D Posters in East London


These paper posters were created by FOAM, a British agency that specializes in unique branded content for music artists and bands. The design began as a 3D model, which was then printed flat in component parts and hand-assembled.

Read more here on the "It's Nice That" blog.


Sunday, July 17, 2011

project 1. Milling. Kali Moon


For this project, Milling, I made my face out of sculpey. I captured a facial expression of blowing a balloon and exaggerated it.
I got great image result from the laser scanner. From this experience of scanning the sculpture, I learned that I need to think about how the sculpture is attached to the scanner.
Before I created this object, I had to understand the relationships of undercuts as it relates to milling which needs to be done using NURBS. In the beginning, I was working with polygons which our milling software does not accept, so then I had to work again with NURBS in Rhino. For next project, I can use polygon in Zbrush which I am looking forward to having a fun time creating interesting work!

Sunday, July 10, 2011

Andrew F. Scott: Laser Scanning Focus NURBS

In this post I will present a workflow for using the laser scanner to create elements for sculptural compositions. The illustration above presents the finished composition composed of a Nurbs Surface and linear contour elements.


The data was scanned in an earlier post Black Power Nkisi: Laser Scan. In that post the emphasis was placed on using Rapid Works to extract polygonal elements that could be used to create sculptural compositions. In this post the emphasis will be placed on using Rapid Works to derive a series of Nurbs elements that will be used in sculptural compositions.

The AutoSurface sub-menu is used to generate your Nurbs surface patches. You should focus on generating surface patches using both Evenly Distributed Networks and Feature Following networks. Once these patches are generated you have a variety of tools that can be used to edit the networks. Finally you can use your scanned mesh as the background for a networks that you create by drawing directly on its surface.

The finished surface typology is then imported in Rhino as an IGES file. Within Rhino the Curve From Object command is used to extract the contour curves from the nurbs patch network. Its always a good idea to organize your elements on separate layers so that you can access them when needed and its just good craftsmanship..

Grasshopper in invoked from within Rhino. Once in Grasshopper a simple script is created to read in all of the curves and transform them into adjustable pipes. Play around with the radius adjustment to play with the proportion of your tubes with the underlying mass and as an element unto itself.

The tubes should be baked into Rhino from within Grasshopper on separate levels.

The data can now be used in a wide variety of digital fabrication processes at a wide variety of scales. During this quarter I am teaching both Digital Applications in Sculpture and Direct Metal Sculpture. I look forward to exploring how these data sets and workflow can be used in both contexts.

7/14/2011 Update

Below are two of the initial studies based on the scanned data.

The first study is a serial exploration of the form. While I like the way that the cardboard looks I am interested in using this form as an internal armature. I want to see how well aqua-resin and cheese cloth works over this form. I am also interested in doing another serial study using wood.


In this study a 3d print of the computer model was created then molded using Smooth-On Rebound 25 silicone rubber. Afterwhich, urethane models were created using Smooth-Cast 325. I am interested in doing a few more castings and material explorations using these models. This is only the beginning.

Tuesday, June 7, 2011

Brandy Koch: Independent Study


Brandy Koch:Independent Study


When I finished Mr. Scott Sculpture class, I left feeling great, but knew I had only begun to touch the surface of his expertise. When he accepted my independent study I, of course was thrilled. We had left off with me trying to create an efficient way to reproduce a weapons form that was both cost, and time efficient. In the beginning I was cutting the shapes out of cardboard and layering them, the sculpture class allowed me to cut shapes out, be it the laser cutter or the CNC machine, also we experimented with the FDM printers but none of these proved to be a best final outcome, The CNC machine is very expensive depending on the material, and allows us to only do one piece at a time. The laser cutters can be done in multiples but still requires one to do a lot of glueing and assembling. The FDM again is very expensive, and can only produce one small item at a time. So..... This semester was spent 1/2 on the creation of a rubber mold, and plastic sampling. I was able to create a simple one step process that is cheap, quick, and easy. Best of all it can be done in my own home. I can use them for my pieces and they are even fun enough to be a hangtag by themselves, the techniques I learned from Mr. Scott can help me make the best molds and positives ever. The other half of the semester was used playing with the laser cutter. I got to cut 4 times on leather and twice on bunny. Through these series of tests I was able to find the settings I need for the type of leather Im working with, I was able to work out computer issues with my logos to get the best possible results. On top of all that, we were able to use the same gun molds to pump out 6 glass cast pieces as well, leaving my next chapter wide open.....