Thursday, May 31, 2012

Pablo Gnecco, Serial Slice

I wanted an abstract dynamic shape. I first deigned something in cinema 4d, which i am more comfortable in, but i had some problems using the grasshopper script on it. So i had to act fast and design something in Rhino. I tried to get the same deformed shape using a sphere.


Pablo Gnecco, 3D print

With the size of the of the final object being small, I wanted to design something that I could use, or give as gifts. 

POSITIVE MENTAL ATTITUDE Keychain


Pablo Gnecco, Milling

This is my original model. The hands had hundreds of tiny little mistakes so the easiest thing was tot ake the hands out.


It all came out nice.


The casting was pretty easy.


I wanted to project onto the object themselves but I didnt have time

Tuesday, May 29, 2012

RP Keyshot

Hi guys,
  so today i decided to place my RP model into the real world. to do this i used keyshot and pulled a back-plate from a subway station pic i liked. i used a similar lighting scheme to replicate the yellow hue of the station and i used ground effects to make it sit on the floor. i haven't had much practice with keyshot, but this is what i have come up with thus far.

Monday, May 28, 2012

Sami Lee Woolhiser: Wolfie

Now this is the fun part! I started surfacing the cardboard with a thin layer of aqua resin followed by wetting in woven fiberglass. Then I started the surfacing with a underpainting of black and navy blue followed with over colors and brights. For details in the face, paws and mouth I used two part epoxy.


Color scheme/ surfacing inspiration:

Saturday, May 26, 2012

Sami Lee Woolhiser: Milling Tree Mold and Casting

Hey! This took 5 people to release the ren from the mold, I had a problem with the mothermold being too tight. Tip: Make sure to have beveled edges! Either in the original piece or the silicone.

This is my first tactile sculpture, it is meant to be experienced with touch and sight.

Here is the original Ren piece

Mold!


Thursday, May 24, 2012

Logan Miller: pepakura go big or go home

 Hey guys, as you all know we are making the wolf pack! i decided to make mine the "big dog" for fun and i enjoy how it came out. if you haven't figured it out yet the pepakura maker only allots for a scale of 2000mm. if you want it bigger than this all you have to do is scale it in Rhino and remake the tabs on pieces that will need to be cut. for the finish on the piece we have decided to go with a epoxy and cheese cloth covering that should bond just as well as aquaresin, more pics later on the process.over all it is a pretty interesting process that i enjoy immensely. i hope you enjoy the wolf. his name is Marvin.


Tuesday, May 22, 2012

Sami Lee Woolhsier: Pepakura wolf construction

Assembling and finishing my pepakura wolf! First I began by folding the cardboard pieces and super-gluing the flaps, Prof Scott recommends locktight. I then attached it to a wooden base so that the legs wouldn't pull in when I added material to the exterior. I coated it with a shell of aquaresin and fiberglass, this will make the sculpture waterproof and super strong! It also gives it a cool almost furry texture.
I've started my surfacing of the model with a navy blue underpainting.
Pieces

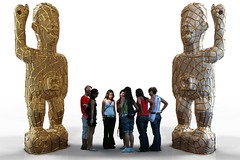
Having a blast assembling my pepakura wolf!

Coating it in aquaresin and fiberglass material

Wolf pack baby! Owwoooooo!
Underpainting

Love at first sight!

Monday, May 21, 2012

Wednesday, May 16, 2012

Logan Miller: rapid prototyping

 Hey guys i got my 3D prints back the other day and thought i would share. i had a heck of a time printing these because the files where so big. I ended up making a mesh from the nurbs and it significantly reduced the file size. this orb is made from the same model that i made my serial stand from. i mad an arrayed pattern from the piece then i created a sphere from the rings.
these are the five orbs i had printed. the guys in the digi lab where nice enough to squeeze my last small orb into the print envelope for me.
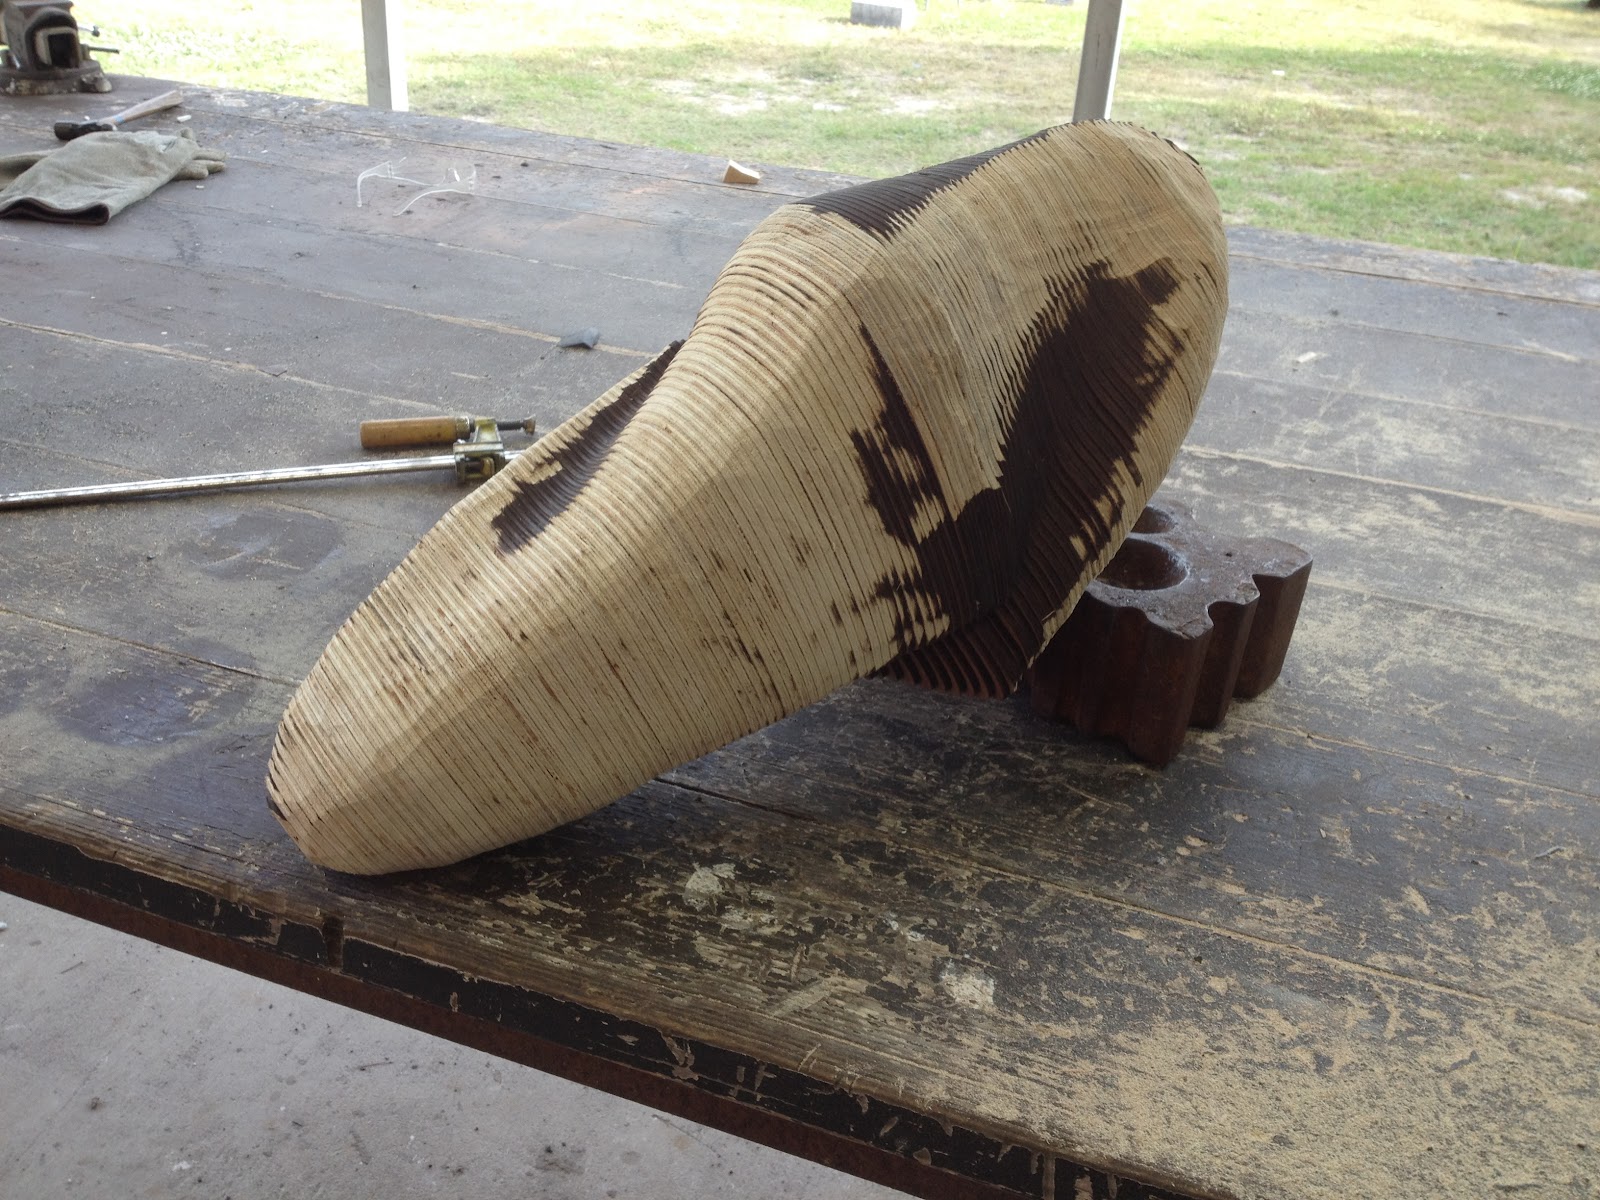
i am very pleased with the full pattern around the sphere and how it changes further from the poles.


this is one of the pole on the large sphere. i love the architectural look i achieved.


Logan Miller:Pepakura folding fun


hey guys, I've been doing some practice folding for pepakura and this is what i have so far. the hardest part i have had with these models is that they have no numbering system. i have also found its easier to work big because my fat fingers can fit into the spaces that way. 

this is the first model i did. i realized in building it that the tabs needed to be trimmed down when putting holes in the geometry.
this is the template for the following geometry. sorry its hard to see.

this is the second geometry i did. this one was a little more complex

after i built the geometry i decided to paint it because i didn't like the burn marks in the paper.