Wednesday, October 10, 2012

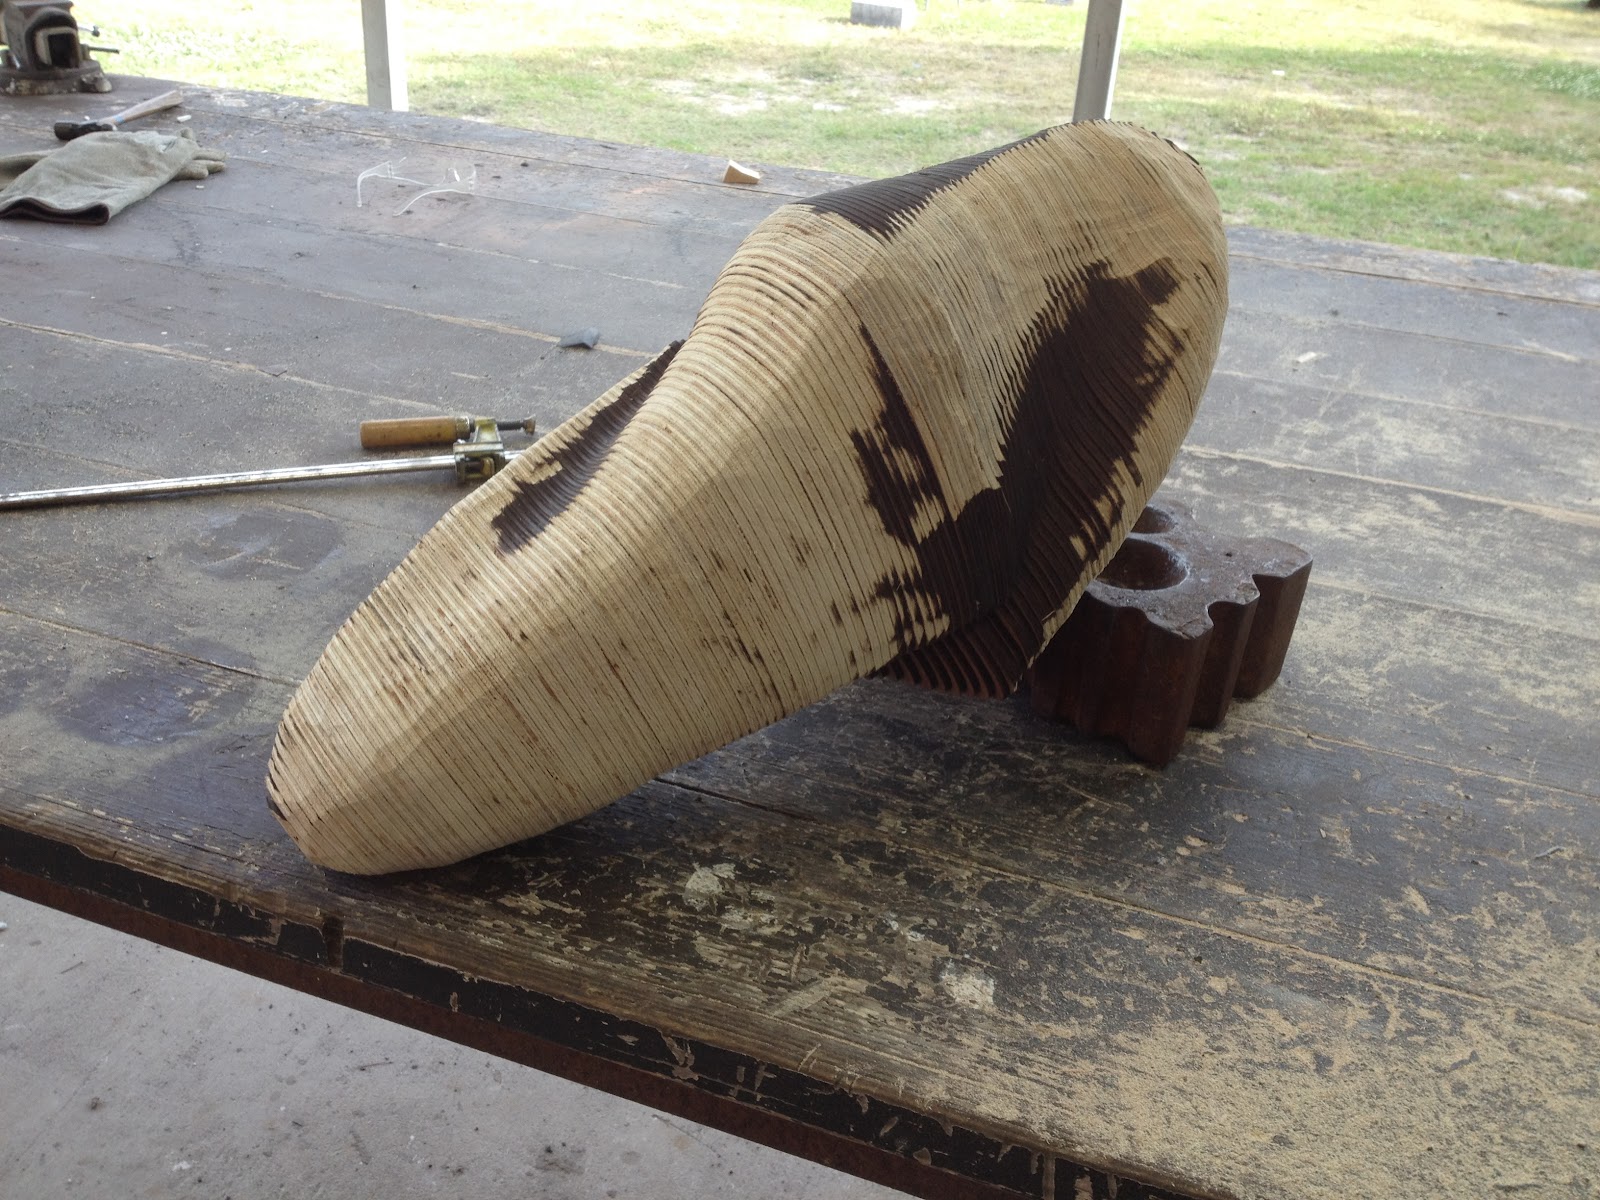
MItchell Biggio: Serial Sliced


My first attempt to make a serial construction sculpture with the laser printer. I call it the HIVE


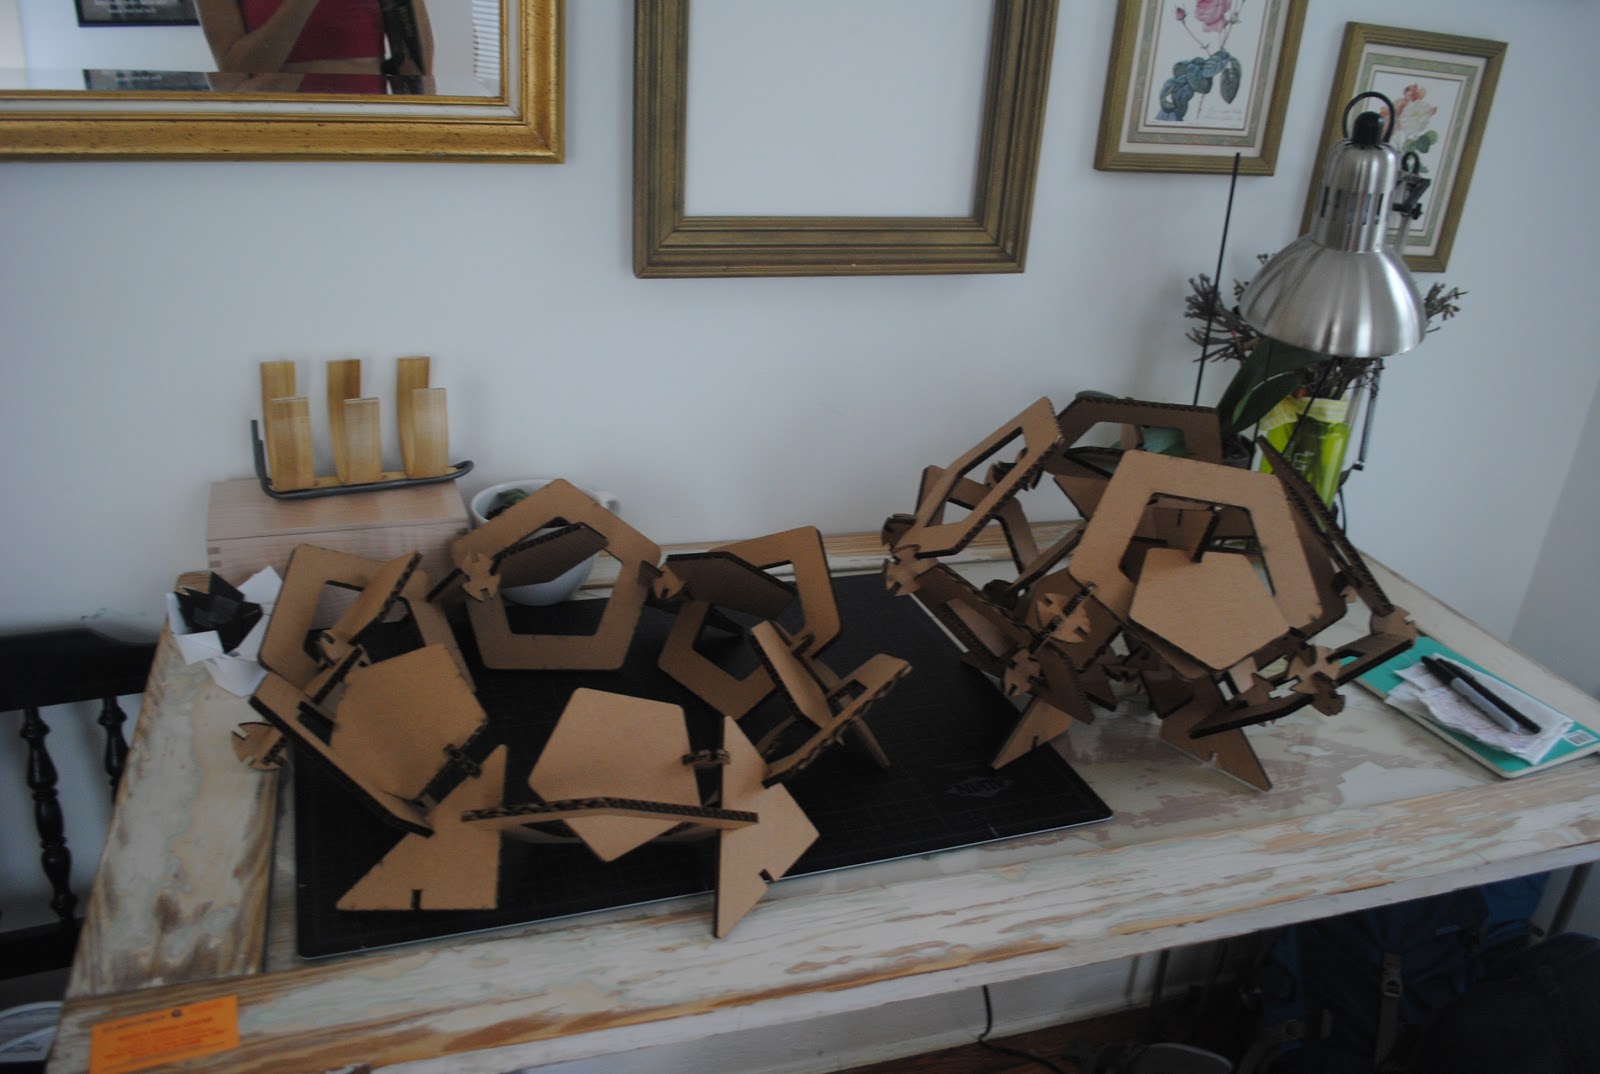
Mitchell Biggio: Slotted Peices

I went for making some pretty interesting and complex shapes not considering how they might or if they could come together and make something. I tried my best.  
 
Pile of Shapes

 First form I made 
Second simple form only using one kind of shape.

Brianna Finkle: Radial Waffle Stucture

Once grasshopper was available, it was time to make some waffles structures. Below is a quick example of a radial waffle structure which might make a really interesting light fixture.
Rhino File


Brianna Finkle: Polyhedra

 Below is some experimentation we did with polyhedrons. While working with the compound of two squares I started with an Illustrator file which was then brought into Rhino and the exported for the laser cutter.
Illustrator File
 
First Rhino File
Second Rhino File


Tuesday, October 9, 2012

Brianna Finkle: Serial Sliced Object

After becoming more familiar in Rhino we learned how to serial slice an object. After inserting a core and slicing the object comes a process of numbering and laying the components out on a flat sheet to be laser cut. Once the pieces are cut the assembly is simple. 

Slices Rhino File


Keyshot Rendering


 Sliced Cardboard Rhino Large

Small scale Rhino
   

Brianna Finkle : Slotted Sculpture


Below is my first exploration in slotted sculpture. Starting with a Rhino file that was laser cut, several small pieces were created that can be arranged in many different ways. 
Rhino File


Monday, October 8, 2012

Nick DeBruyne, serial slices

Below is a prototype built from cardboard using serial slicing methods in Rhino.  The 3d model is cored, sliced, numbered, layed out on sheets, and laser cut.  The assembly took only a few minutes.  
 assembly
 laser cut components
 assembled prototype
keyshot rendering

Wednesday, October 3, 2012

Nick DeBruyne, Slotted Structure

Below is my exploration in building slotted structures, from the Rhino file that was laser cut to create the individual components to one of many possible configurations.  


Andrew F. Scott: Fall 2012 First Post

This the first posting of the fall quarter 2012 where will will introduce a whole new cadre of digital sculptors to the scene.

This rendering was created using keyshot 3


This is my serial screen capture


Friday, July 13, 2012

andrew f. scott: Cartasia 2012

andrew f. scott: Cartasia 2012 by afsart
andrew f. scott: Cartasia 2012, a photo by afsart on Flickr.
Cartasia 2012 was the sixth contemporary art Biennial, mainly focused on the uses of paper: it was held in the city of Lucca, Tuscany, Italy.

The 2012 theme proposed by the organisers, is “Crisis and Rebirth”.

Andrew F. Scott was one of seven artist invited to produce work for the festival. For the festival he constructed a sculpture from his Black Man Grove series on a monumental scale in Piazza San Michele.

Thursday, May 31, 2012

Pablo Gnecco, Serial Slice

I wanted an abstract dynamic shape. I first deigned something in cinema 4d, which i am more comfortable in, but i had some problems using the grasshopper script on it. So i had to act fast and design something in Rhino. I tried to get the same deformed shape using a sphere.


Pablo Gnecco, 3D print

With the size of the of the final object being small, I wanted to design something that I could use, or give as gifts. 

POSITIVE MENTAL ATTITUDE Keychain


Pablo Gnecco, Milling

This is my original model. The hands had hundreds of tiny little mistakes so the easiest thing was tot ake the hands out.


It all came out nice.


The casting was pretty easy.


I wanted to project onto the object themselves but I didnt have time

Tuesday, May 29, 2012

RP Keyshot

Hi guys,
  so today i decided to place my RP model into the real world. to do this i used keyshot and pulled a back-plate from a subway station pic i liked. i used a similar lighting scheme to replicate the yellow hue of the station and i used ground effects to make it sit on the floor. i haven't had much practice with keyshot, but this is what i have come up with thus far.

Monday, May 28, 2012

Sami Lee Woolhiser: Wolfie

Now this is the fun part! I started surfacing the cardboard with a thin layer of aqua resin followed by wetting in woven fiberglass. Then I started the surfacing with a underpainting of black and navy blue followed with over colors and brights. For details in the face, paws and mouth I used two part epoxy.


Color scheme/ surfacing inspiration: