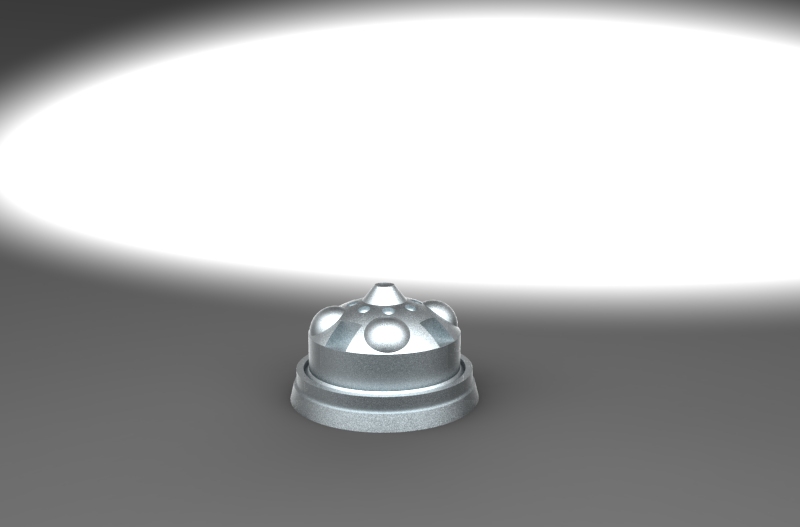
This is my final for this assignment. I wanted to integrate the nontraditional shape of the "lamp" with the base that I found. I made a silicon mold from the milled foam, cast it twice in aquaresin, glued it together, drilled out some holes, and painted it to match.


The top picture is my very long awaited milled foam! The next picture is an experiment with the laser cutter in serial stacking out of cardboard.


For Project #1, creating a relief with Rhino, I decided that simple was my objective, seeing that I have never used the program before. I created this "shape" using exclusively the Boolean command. Sometimes subtractively, sometimes additively, I joined various polygons to make my ending result.

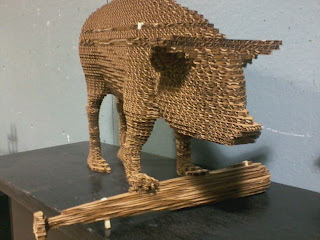 For my final project, I chose to use my FDM model. I enlarged it to fit the ULS laser, although they decided it would be quicker to print with the beam. Six different 1/4 inch dowels were used to hold it together. Many of the contours needed to be fixed before printing. Overall, I am happy with the result, although I wish that they had not rotated the cardboard when they printed it, as this made the corrugation irregular.